I saw this card file box on Pinterest the other day. I went to the original blog post to find instructions, only to find out that the template for purchase (!) is no longer available, so I said to myself, "Self! Figure it out." And I did!
There are a lot of pictures. I hope the instructions are clear enough if anyone wants to try this. The tutorial so far is for the box only, not the dividers which I have not attempted yet (it's too hot to spend any more time in my craft room for the time being). Because I was really trying this out to see how it worked I used some old materials I have on hand from before I was a demo. The white cardstock is from Georgia Pacific and the patterned paper is from Recollections.
Away we go!
YOU WILL NEED
- two 7 3/4"x8 3/4" pieces of cardstock
- two 4 1/2"x5 1/2", one 1 3/4"x1 3/4", and one 5 1/2"x1 3/4" pieces of patterned paper
- paper trimmer, scoring tool, craft knife (optional), ruler
- pencil
- adhesive runner, Sticky Strip
- scissors
STEP ONE

Score your cardstock at 2" and 6 3/4" (long side up). You will do this to both pieces.
STEP TWO

Turn the cardstock and score at 2". You will do this to both pieces.
STEP THREE

Snip the 2"x2" corner pieces off of ONE piece of cardstock (we'll call this A)
STEP FOUR

Snip the 2"x2" corner pieces of the other piece of cardstock as shown in the picture(we'll call this B). These will become glue tabs.
STEP FIVE
(Now is a good time to pre-fold your score lines. I found this helped me keep everything orientated correctly.)

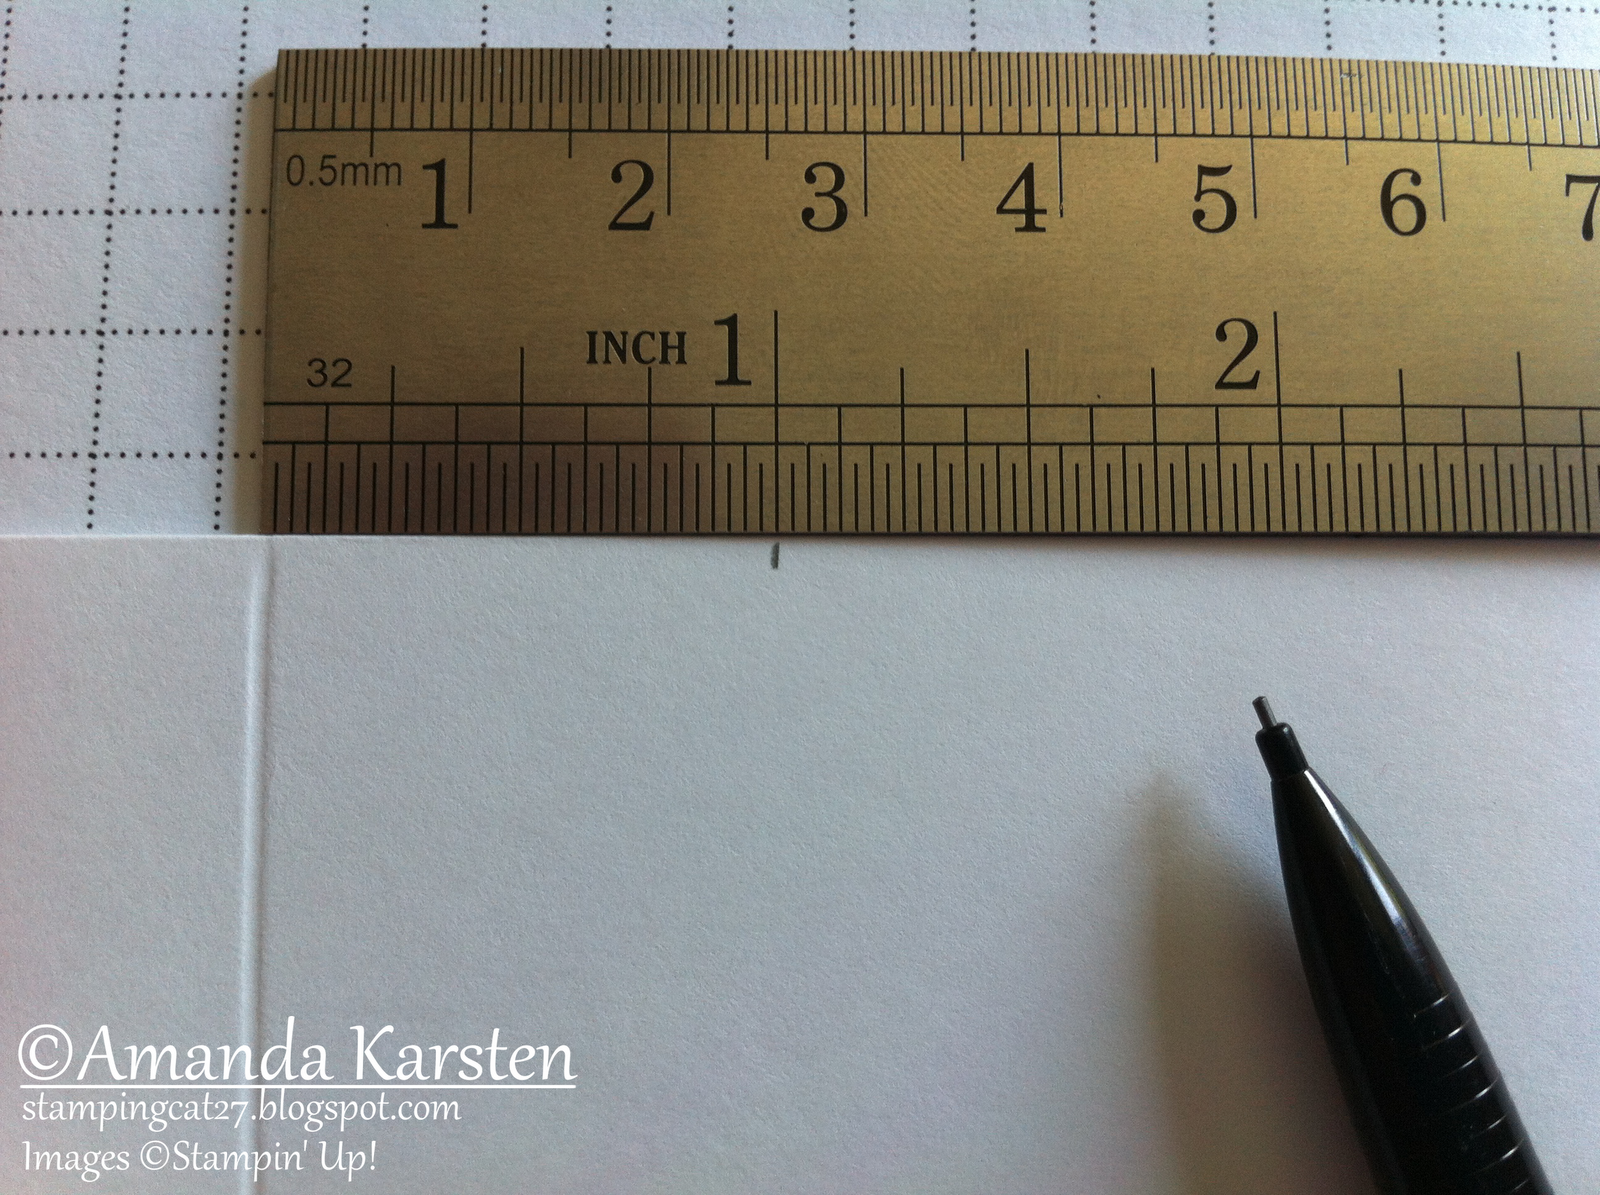
Measure 2" up from the bottom score line of B. Make a mark with your pencil on the right-hand score line. The score lines on my B piece were mountains up.

Use a craft knife or your paper trimmer to trim down the right-hand score line until you hit your pencil mark. Then cut inward from the right-hand edge to your pencil mark (you will essentially be removing a 2"x3 3/4" piece).
Then measure 1" in from the left-hand score line on the top of B. Mark with your pencil.

Use your ruler and a craft knife (or paper trimmer) to connect your top pencil mark with the corner of the cut you just made. Cut that piece off.

This is what it should look like.
Repeat this same process with piece A, except you'll want the valleys up to create a mirror of piece B.

This is what it should look like with valleys up on both pieces.
STEP SIX

Take your first piece of 4 1/2"x5 1/2" piece of patterned paper. Make a pencil mark (long side) on the right-hand side at 1 3/4" from the bottom. Make a pencil mark on the top at 3/4" from the left-hand edge. Connect the dots with your ruler and cut off with your craft knife (just like you did to the cardstock pieces earlier).

Take your second piece of 4 1/2"x5 1/2" piece of patterned paper and turn it UPSIDE DOWN under your already trimmed piece. The fact that it's upside down is very important - don't ask me how I know this. Using your ruler as a guide, trim the second piece using the first as a template.

This is what you should have.
STEP SEVEN

Using your adhesive runner, attach the patterned paper to piece B as shown.

Then attach the last two pieces of patterned paper to piece A.
STEP EIGHT

Add Sticky Strip to piece B as shown.

Then add Sticky Strip to the bottom flap of piece A - valleys up.

Then add Sticky Strip to the back flap as shown - mountains up.
STEP NINE

I adhered the bottom first, then the front, then the back. In the end, this is what you should have.
And that's it! You can stamp images instead of using patterned paper, use different colors, whatever you want.
Again, sorry if something isn't clear. I've never written a tutorial before. I know personally I get a better feel for a project from a video tutorial, but I am not the "make-a-video-tutorial" type of person. If any of you would like to try, feel free! Just please link back here :)
Any questions, please ask. If I wasn't clear, let me know and I'll try to fix the description. I might have gotten in too close on some of the pictures. Oh well. Live and learn!
Enjoy :)
What a neat idea and great tutorial! Lots of places to put someof those 100 cards that you don't get sent out right away!
ReplyDeleteAwesome tutorial! Thanks for sharing.
ReplyDelete